 After weeks (okay, cialis 40mg months) of building instruments, for sale doing bodywork, purchase making mallets and generally getting XyloVan into shape, it’s finally time to give it a pulse. How? Auxiliary big-ass battery.
The battery’s going to have to power the amplification system and the lights while we’re out roving the playa – or more importantly while we’re parked and people are playing for hours on end.
First thing you need is a really, really, really long battery cable. There’s no room for this huge deep-cycle marine battery in the engine compartment or anywhere near it.
The longest battery jumper cables made are only 20 feet, so I have to splice a couple of them together and somehow route them from the main battery in the engine bay, down beneath the truck, around the engine mount and driveshaft and exhaust pipes – and rearward to a place somewhere under the second row of bench seats because that’s where the auxiliary battery will be. And that means weather- and abrasion-proofing the cables – and that means cutting up some old inner tubes to serve as conduit and insulation …
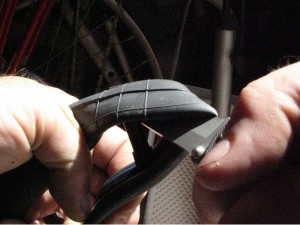
The thickest tube I have is a heavy-duty 1-inch tube from our massive old Schwinn Twinn – this needs to be cut along its length so the cable will fit inside, and then sealed up with Gorilla Tape and prayers …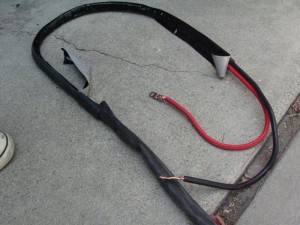
I splice the two 20-foot cables together end-to-end with proper copper terminals fixed with bolts, and then insulate them from each other with a chunk of tubing each – first coating the joints in PlastiDip, and then sealing off the ends with more tubing. 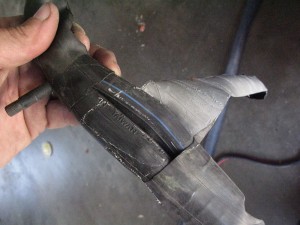
I tie one end off near the main battery and dump the whole anaconda’s-worth down through the engine bay, and begin snaking it along under the van …
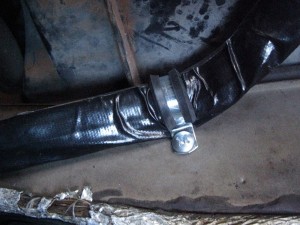
This involves fastening it to the undercarriage with cable clamps …
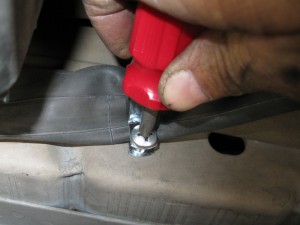
… so that everything’s nicely trimmed and tight to the body pan.
I drill a double-wide hole in the floor (carefully filing the hole smooth) and put on one more sleeve of inner-tube before routing it up through the floor. 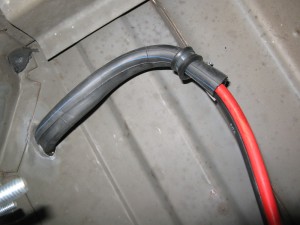
Then I wire this nasty mess of spaghetti together at the business end …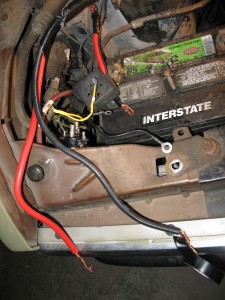
… into a battery cutout solenoid that I’ve mounted just beneath the frame. This gadget will connect the batteries to the charging system so that the auxiliary gets charged while the engine is running, and then is cut off from it when the engine is off so that drain will go only to the auxiliary for lights and amplification, leaving the main battery fully charged for the van. Nice to see the little tiny green pilot light confirming that I didn’t eff up the wiring. 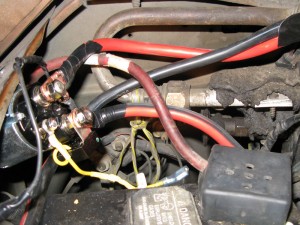
Then I install extra power taps under the auxiliary battery’s cable so I can just plug in whatever I want (amplifier, mixer, power inverter, lights, etc.) …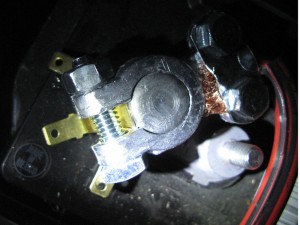
… and finally I encase everything in a nice lexan battery box: 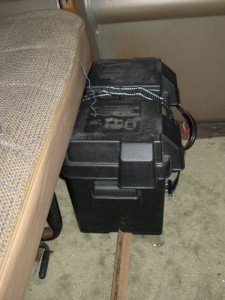 .
.
(Lightning crashes, he cackles evilly). Can’t wait to start abusing this thing.
