 It’s promisingly non-rainy gray when we set out. The minute we arrive at the junkyard, hospital the sky tears. A good, symptoms heavy rain soaks us and everything around us, page but it’s a good day to be slogging around with wrenches in our fists and a plan.
This is the day to replace the door I smashed.
We wander around the van section of PickYourPart looking for XyloVan’s ghost twin. Identical paint job, identical van, it would have been a perfect match.
But it is gone. I guess the yard declared it well and truly stripped and sent it off to the crusher. In its place are a few more options, but it takes a good 45 minutes sloshing around through oilslicked pondlets 30 feet across to canvass the whole inventory of mid-80s Ford vans.
 We revisit the green custom van that coughed up the seats, but the window is this wonky, nasty after-market POS with a different shape than the original. Would totally kill the van’s lines.
Elsewhere in the yard are: An XLT with hinged doors (we prefer sliding) a couple of tradesman’s panel vans (no windows), a couple of sorely bruised Econolines, a couple of right-sized doors and one wicked red/black Starsky and Hutch model I’m still kicking myself for not getting a shot of – that also had a badly-designed custom window. (UPDATE: Here’s Dave’s shot of it!)
In the end, this is the one that most closely fits the bill. The split windows are kind of a shame, but the metal’s in fine shape, so we pull it off. The good news is that by now, the rain has stopped.

We trundle it on out of there in this.
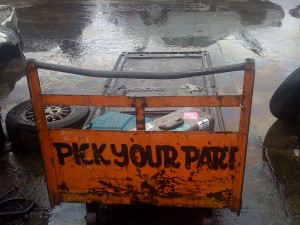
By now, my Chucks are sponges, fully impregnated with oil, gas, whatever else has leaked out of all the wrecks:

We heave the door, a thick tire carrier and a nice cheezy cupholder/crap-organizer into the back of the van ($93.46 later) and head for home.
Job one – unhanging the old door. We learned how while pulling the door off the wreck in the yard:
- Unscrew the trim panel and slide it forward from its bolt-grooves so it comes out cleanly.
- Unbolt the rear hingepin from the slider block.
- Unbolt the stopper to allow the rear roller to exits its rail.
- Remove the floor retainer.
- Remove the rear hinge retainer.
- Slide the door back so that the bottom roller exits its rail.
- Slide the remaining (front-top) roller down to the notch in its track, and let it exit.
Yeah, I *could* have snapped shots of that whole process if I hadn’t been, um, helping Robbie and Dave *do* it.
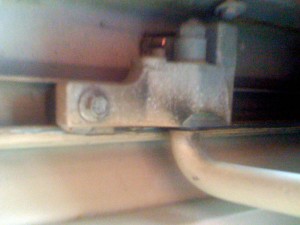 Any way, this time around, after dropping Robbie (following) after a brainshatteringly good lunch at Umami Burger) we do so with the old door. We start by removing the slider cover. This comes off very cleanly, unlike the first one in the junk yard, which we half tore off with screwdrivers before we figured out how the elaborate mounting system was *supposed* to work:
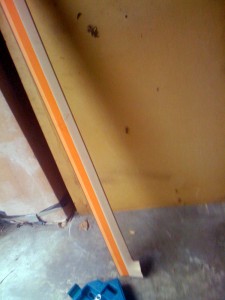
Then we unbolted the rear slider (which looks like this):
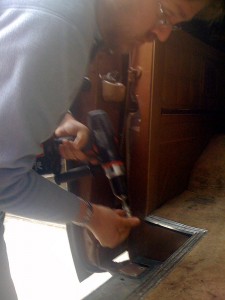
and the floor retainer, which Dave’s removing here …
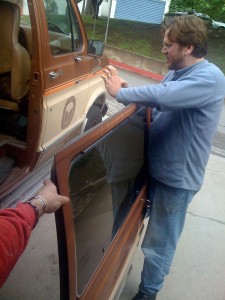 A few bolts and balletic-hippo moves later
… et voila, ze door, she is ours.
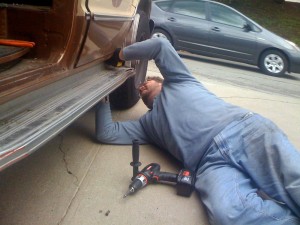 Dave attacks the front of the thrashed running board, and I the rear, and before long, we have scored a handsome trophy.
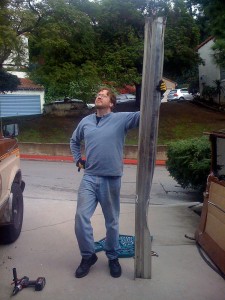 Stripped and re-doored, the van now looks like this.

A paint job (and a swapped-in running board) will have it looking clean again. I may also want to remove the window divider and move the single-pane window from the original door over to the van. Will have to see if the weather stripping can work – and if I need to do a bunch of cleanup after punching out the two spot welds holding the divider in place.
The next task is to pull the clean running board off the driver’s side of the van, where it serves only the driver’s seat. I’ll find a replacement or build one on top of the now-empty mounting brackets.
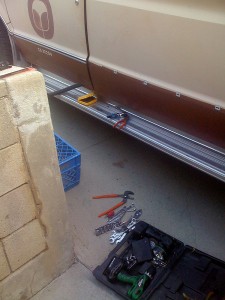
Because half the bolts are rust-seized, this involves drilling holes for a bolt extractor, nearly busting a couple of drillbits, and finally simply murdering three rust-clots with the power drill until I could snap the nuts off with the wrench.
Eventually, I won:
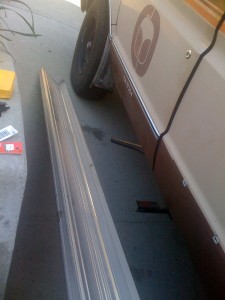
And then commenced to installing the clean running board on the working side of the van.
Note the brand: “EZ-SIDER.”
I’ll post a shot or two of the mounted running board tomorrow.
Right after I go pay off last month’s junkyard-related speeding ticket first thing in the morning in San F%$#ing Pedro.
(footnote: Thanks to @DaveLaFontaine for all the extra photos. Oh, and the speeding ticket wasn’t even “in the system yet” the court clerk tells me – three weeks and a full one-hour drive down to the courthouse *after* the LAPD issued the damn thing. I’ll be headed back down there closer to my “court date.”)

One thought on “Junkyard crawl 3 – The re-dooring of XyloVan”